

Color & Texture info
VMT & VTF
VMT and VTF files work together. VTF files contain textures (graphics) sets and VMT files contain the materials (values).
VMT
Here is more information around VMT files. I'll refer to some header down bellow from the guides.
$layercolor
This parameter sets color for some textures, I should mention this isn't the case every time. Color can be set by an external VTF file. This is the kind of value you might encounter in Titanfall VMT files.
$layercolor2 "[3 0 3]"$layercolor2 use rgb values but not 0 – 255. When you use brackets, Source interprets the values contained in the brackets as rgb in %. If you are not familiar with rgb values I recommend you take a look at SourceVMTColor, this tool make things lot easier. If you are familiar with rgb values 255 become 1 and 0 still 0. For example this pink [255 0 255] become [1 0 1] in percent. [1 1 1] is pure white and [0 0 0] black.
You can get more brightness using value up than 1. For heat color I would recommend to use value between 1 and 5. More is too much in game (personal preference).
$texture2 & $basetexture
This value is path to the texture you want to use in your material files. Both can use path to any texture file, in some case, some texture would look wreid or wouldn't work at all. Down bellow a little example of how you can use this value, those path will always point by default the material folder. You don't need to add the file extension in the path
"$basetexture" "models\weapons\lstar\lstar_heat_charge_col"This example use the texture file located in this path. englishclient_mp_common.bsp.pak000_dir.vpk\materials\models\weapons\lstar
texturescrollrate
This value is an additonal parameter to $texture2 & $basetexture. It scroll the texture counter clockwise or clockwise. Negative value will scroll counter clockwise and positive value will scoll clockwise.
texturescale
This value will basically defined the size of the texture on your model for example.
$allowoverbright
This value increase or decrease the brightness of a glowing effect
VTF
Here is more information around VTF files. I'll refer to some header down bellow from the guides.
How to edit animated texture color
Once you loaded the texture in VTFEdit, extract it as PNG outside your extracted folder
e.g. C:\Users\YourSessionName\Documents\Titanfall 2 Modding\extracted texture
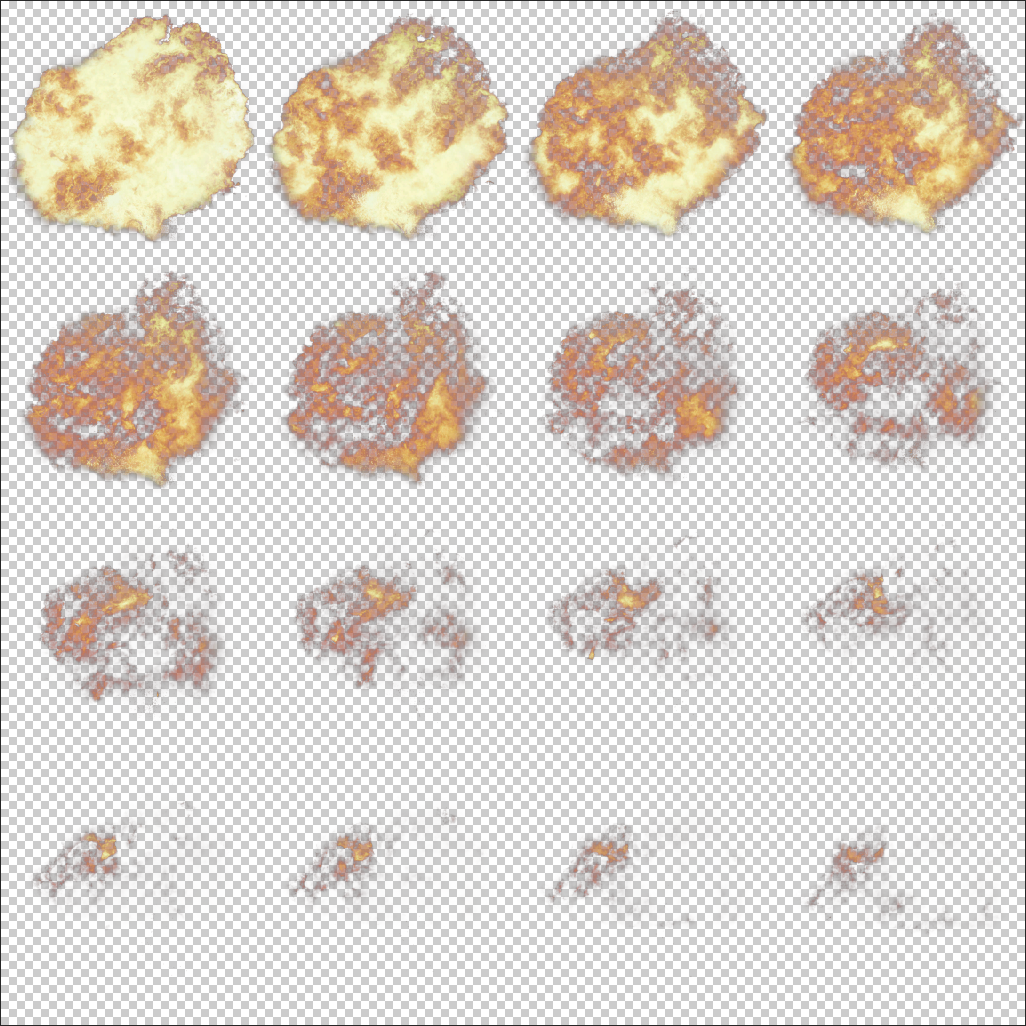
PNG format is important, for animated texture you need transparent background.
There is not only one way to edit animated texture, I'll show my way to do it but if you don't like it I'm pretty sure that you can find another way on our friend Google, like I found myself !
1. Load the picture into Photoshop
Load the PNG file into Adobe Photoshop, should look like so. That background made up of a white and grey square means that your background is transparent. That's very important ! If you don't have same result then you must doing something wrong (Do not use the picture from the link above, ok?)
2. Open gradient map

Once you loaded the gradient map, it will add a layer and change the color of the texture. At this point you might get how this process makes things editing the color easier. To open gradient map tool click here

1 is the opacity, but we don't really need it in that case
2 is the color, that's the function are looking for
About my personal preference, I would try to get close as possible of the original saturation. Here is something very similar to what I use in game. Play around with this tool, you will get used to it quickly.
3. Save texture
Once you have the color you want, export the texture as PNG (again very important) and make sure that you still have a transparent background. Do not make any other change to the texture such as size, compression, file format... etc
4. Import texture to VTFEdit
Import the edited texture in VTFEdit with the shortcut CTRL+I and load the texture. VTFEdit will ask to set some settings.
General:
Normal Format - DXT1
Alpha Format - DXT5
Texture Type - Animated Texture
Resize - uncheck it
Mipmaps - check it
Mipmap Filter - Box
Sharpen Filter - Sharpen Soft
Normal Map - uncheck it
Then OK. After processing you may see your edited texture finally loaded in VTFEdit, it might look weird but if you done things correctly the game will read the texture correctly. Then just save the file and replace it in your VPK extracted folder where you are working from.
Last updated
Was this helpful?